Building a rooflight upstand on a flat roof
Building a rooflight upstand on a flat roof. What it means in practice on Essex housing stock, and how we approach it.
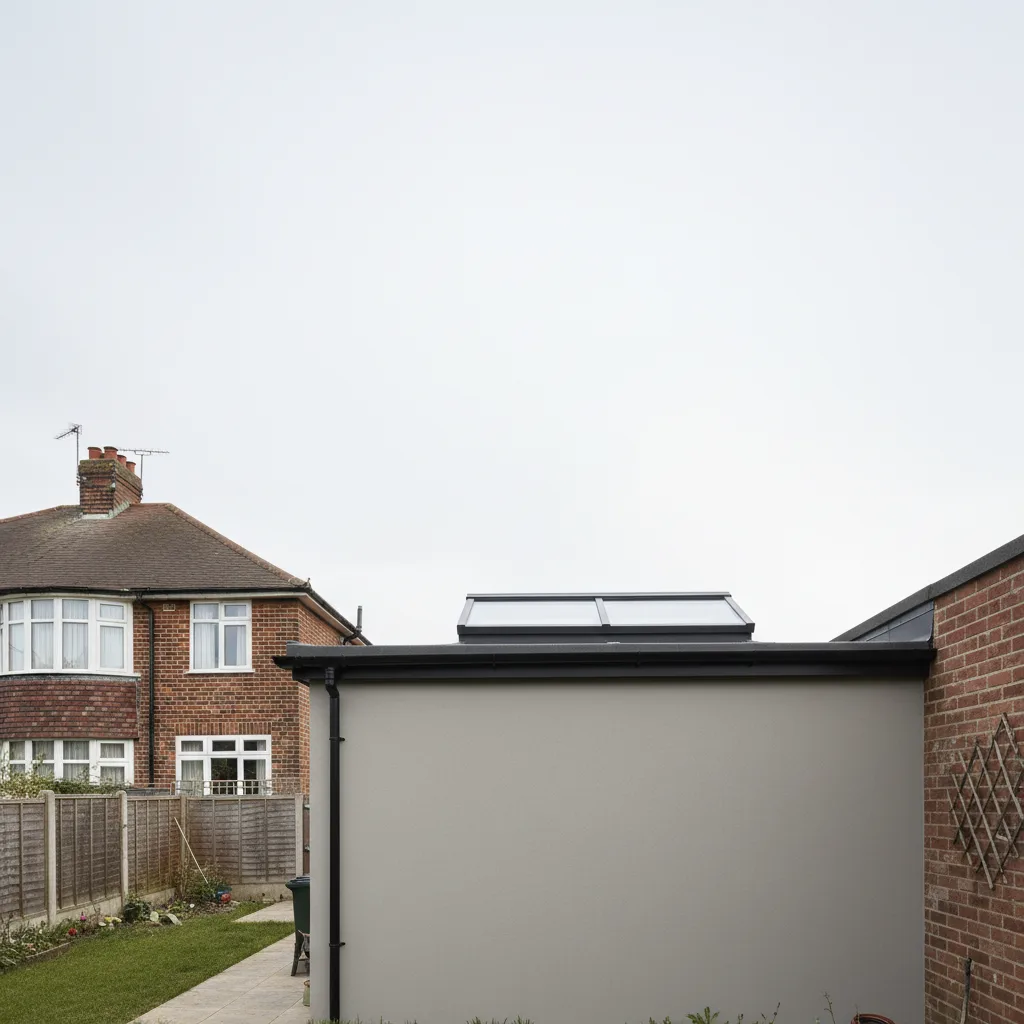
A flat roof does not drain the way a pitched one does. Water sits, ponds and creeps sideways, and a rooflight bedded straight onto that surface is a leak waiting for its first storm. The upstand is the answer: a raised frame, a kerb, that lifts the glass clear of the water line and gives the waterproofing something to turn up against. Get the upstand right and the rooflight above it looks after itself for decades. Get it wrong and no amount of good glass will save the ceiling below.
What an upstand is, and why a flat roof cannot do without one
An upstand, sometimes called a kerb, is a raised timber or preformed collar built up from the structural roof deck. The rooflight sits on top of it rather than on the roof surface itself. On a pitched roof gravity does most of the weathering work, because water runs off the slope and away. A flat roof has no such help. Even a roof described as flat is laid to a shallow fall, usually somewhere between 1 in 40 and 1 in 80, and that gentle slope moves water slowly. In heavy rain the surface carries a moving film of water, and in the hours afterwards low spots hold shallow ponds.
The upstand lifts the glazed unit above all of that. It does two jobs at once. It raises the base of the rooflight clear of standing water and driven rain, and it gives the roof membrane, whether that is felt, single-ply, GRP or liquid, a vertical face to be dressed up and terminated. That termination, where the waterproofing turns from horizontal to vertical and is sealed off at the top, is the single most important detail on the whole roof. Almost every flat-roof rooflight problem traces back to the upstand or to the way the membrane meets it, not to the glass overhead.
South Essex has an enormous amount of exactly this construction. The rear extension on a 1930s semi, the single-storey kitchen addition, the flat-roofed link between an original house and a later garage: these are flat or near-flat roofs, and the owner almost always wants daylight coming down into them. A flat-roof skylight installation starts with the kerb, long before anyone talks about the unit that goes on top.
Timber, proprietary or insulated: choosing the upstand type
There are three common ways to form the kerb, and the right one depends on the deck, the insulation strategy and the rooflight you are pairing it with.
A site-built timber upstand is the traditional method and still the most flexible. It is framed from treated softwood, usually 100mm by 50mm or 150mm by 50mm depending on the height needed, fixed down through the deck into the joists or trimmers below. It can be made to any size and any height, which matters when you are working to an opening that does not match a catalogue.
A proprietary preformed kerb comes ready-made, often in insulated GRP or a rigid composite, sized to a manufacturer’s rooflight. It goes down faster and comes with the thermal performance already designed in, but you are tied to the sizes offered. Many flat-roof skylight ranges sell the unit and the kerb as a matched pair, which removes a lot of guesswork.
An insulated timber kerb is the middle path and increasingly the standard on a warm-roof build-up. The timber frame is wrapped or lined with rigid insulation so the kerb itself is not a cold bridge. This matters more than it used to, because an uninsulated timber upstand ringing a rooflight is a continuous line of cold material around the warmest, most humid opening in the roof, and it will attract condensation on the inside face in winter.
| Upstand type | Typical height above deck | Thermal behaviour | Best suited to |
|---|---|---|---|
| Site-built timber, uninsulated | 150mm to 300mm | Cold bridge unless lined | Cold-roof build-ups, non-habitable spaces |
| Insulated timber kerb | 150mm to 300mm | Broken cold bridge, good | Warm-roof extensions, habitable rooms |
| Proprietary GRP kerb | 150mm to 200mm | Designed in, consistent | Matched manufacturer rooflights |
| Proprietary composite, low profile | 100mm to 150mm | Good, but check the height rule | Where a low sightline is wanted |
The low-profile kerbs are worth a note. They look neater from the garden and keep the rooflight sitting close to the roof, but a 100mm kerb leaves less height for the membrane to turn up and less margin above standing water, so they belong on well-drained roofs with a reliable fall, not on a tired roof that already ponds.
Getting the height right, and the two 150mm numbers that are not the same
Height is where most upstands are decided well or badly. There is a weathering minimum and there is a planning ceiling, and they are two different 150mm figures that people confuse constantly.
The weathering minimum is the important one for keeping water out. Established flat-roofing practice is that the waterproofing should be dressed at least 150mm up the face of any upstand, measured from the finished roof surface, not from the deck. That 150mm is the buffer that keeps ponding water, splash and wind-driven rain below the point where the membrane is terminated. Build the kerb too low and you cannot achieve the turn-up, and the roof will fail at the weakest point on it. On a roof that already ponds, or one exposed to the estuary wind, going above the minimum to 175mm or 200mm is cheap insurance.
The planning number is different. Rooflights are generally permitted development on a house only if they project no more than 150mm above the plane of the existing roof. On a flat roof, the plane of the roof is the flat surface itself, so a tall kerb plus the height of the glazed unit on top can push the whole assembly past that 150mm allowance and out of permitted development. This is general guidance and it is worth checking with the local authority for your address before you build, because flats, maisonettes, listed buildings, conservation areas and Article 4 zones are all exceptions. The Leigh and Leigh Cliff conservation areas carry an Article 4 Direction that removes permitted-development rights for roofing and window changes, so in those streets a planning application may be needed where it would not be elsewhere.
The practical resolution is to keep the structural upstand as low as the weathering minimum sensibly allows, and to choose a rooflight that sits low on its own frame, so the finished height stays as close to the roof plane as possible. That keeps the assembly weathertight and keeps the planning position simple.
Building a site-built timber upstand step by step
The sequence matters as much as the materials. Skip a stage and you build a fault in that you can only cure by taking it apart again.
- Form and trim the opening. The hole through the deck is cut, and the joists interrupted by it are trimmed, doubled up around the opening and supported. This is structural work and is covered in its own chapter below.
- Set out the kerb. The timber frame is cut to the internal size of the opening, checked for square by measuring both diagonals, and dry-assembled before anything is fixed.
- Fix down to the structure. The kerb is screwed or bolted down through the deck into the trimmed joists and doubled edges, not just into the deck board, which on its own will not hold a wind-loaded rooflight.
- Level the top. The top of the kerb must be dead level and in a single plane, because the rooflight seals against it. A kerb that is 5mm out of true across a diagonal will fight the glazing gasket for the life of the unit.
- Insulate. On a warm roof the kerb is lined with rigid insulation so it is continuous with the roof insulation and not a cold ring around the opening.
- Dress the membrane up and over. The waterproofing is carried up the outer face of the kerb, at least 150mm above the finished surface, and terminated at the top under the rooflight’s own weathering flange.
- Bed and fix the rooflight. The unit is set onto the kerb on the manufacturer’s seal, fixed down and its skirt or flange dressed over the top of the upstand so water is thrown outwards, away from the join.
The order is deliberate. Structure, then kerb, then insulation, then waterproofing, then glass. Every layer overlaps the one below it in the direction water flows, so nothing relies on a bead of sealant to stay dry.
Insulating the kerb and keeping the cold bridge out
A rooflight opening is the warmest, most humid part of a roof, because warm moist air inside the house rises and collects at ceiling level and the aperture sits right in it. Ring that opening with bare timber or, worse, bare metal, and in winter the inner face of the kerb will run cold enough for that moist air to condense on it. The householder sees water beading around the rooflight and assumes the unit is leaking, when the roof outside is bone dry.
On a warm-roof construction, where the insulation sits above the structural deck, the cure is to carry that insulation line up and around the kerb without a break. Rigid PIR or an insulated proprietary kerb keeps the whole upstand on the warm side and stops the cold bridge forming. On a cold-roof build-up, where insulation sits between the joists below the deck, the detailing is fussier and ventilation of the void becomes part of the design, which is one reason warm roofs have become the default on new flat-roof extensions.
The glass overhead has its part in this too. A rooflight with a poor whole-unit U-value runs colder on its inner face and gathers condensation more readily, whatever the kerb does. New and enlarged rooflights are notifiable under Building Regulations, and Part L sets a limit on the U-value of the unit, so the glazing has to perform on paper as well as the kerb. Pairing a well-insulated upstand with a well-specified unit is what actually keeps a room dry and comfortable, rather than one or the other on its own.
The structural side: trimming the opening on a flat roof
Cutting a hole in a roof means interrupting the members that were carrying the load across it. On a joisted flat roof the joists that the opening cuts through have to be stopped short and their load transferred around the hole. This is done with trimmers: extra timbers fixed across the ends of the cut joists, and usually doubled joists along the sides of the opening, so the load takes a path around the aperture and back down to the walls.
How much of this is needed depends on the size of the rooflight and the span of the roof. A single modest rooflight in a small extension may need little more than doubling the joists either side of the opening and a pair of trimmers. A large lantern or a run of units across a wider span can need engineered timber or steel, and where the structural picture is not obvious a structural engineer’s calculation is the right call rather than a guess. Part K of the Building Regulations covers guarding and safety glazing around openings, and the overhead unit will need laminated glass to the inner pane in any case.
Two things are worth stressing. First, the kerb must be fixed to this reinforced structure, not to the deck boarding alone, because the deck alone will lift under wind load on an exposed estuary roof. Second, the trimming has to be complete and the opening properly framed before the kerb goes on, because the kerb takes its line and its fixings from the trimmed opening beneath it.
Orientation, solar gain and the glass that sits on the kerb
The upstand keeps the water out. What comes through the glass on top of it is a separate question, and on a flat roof it is a sharper one than most people expect. A flat rooflight faces straight up, so at the height of a Southend summer it is collecting close to twice the solar energy per square metre of a vertical south-facing window, because the midday sun strikes it far closer to square-on. The heat arrives at ceiling level, which is exactly where warm air already wants to gather, so it lingers in the room instead of mixing away.
Southend faces south across the Thames Estuary, with an open horizon and reflected light coming off the water, so the flat roofs on south Essex extensions are collecting through more sunlight hours than most. That is why the glass specification matters as much as the kerb. The U-value governs winter heat loss and condensation. The G-value governs how much of the sun’s energy comes through in summer, and it is the number left off most quotes. Clear double glazing has a G-value around 0.6, letting roughly 60 per cent of the solar energy through. A solar-control unit brings that down to around 0.3 without making the room dim, because a good coating blocks the invisible near-infrared heat while passing most of the visible light.
So the kerb and the glass are two halves of the same job. The upstand decides whether the room stays dry. The glazing decides whether it stays usable on a July afternoon. On a south-facing flat-roof extension, or a roof lantern over a knocked-through kitchen, specifying solar-control glazing on top of a properly built kerb is what turns a bright room into a comfortable one.
Common upstand mistakes and what to check before it is signed off
Most of what goes wrong with a flat-roof rooflight is visible at the kerb if you know where to look.
- Kerb too low. If the membrane turns up less than 150mm above the finished surface, ponding water and splash can reach the termination. This is the most common cause of a slow leak that only shows after heavy rain.
- Membrane not carried high enough or not terminated. The waterproofing has to reach the top of the kerb and be sealed off under the unit flange. A membrane that stops short, held only by a bead of sealant, will fail as the sealant ages.
- Kerb fixed to the deck alone. Without fixings into the trimmed joists, wind uplift on an exposed roof works the kerb loose and opens the seal.
- Cold bridge left in. An uninsulated timber or metal kerb on a warm room draws condensation on its inner face in winter, and gets mistaken for a leak.
- Top of kerb out of level or out of plane. The rooflight gasket cannot seal evenly against a twisted kerb, and the gap it leaves is where wind-driven rain gets in.
- Falls running towards the kerb, not away. The roof should be laid so water sheds away from the upstand, not into the corner where it meets the deck.
If you are having this work done, the questions to ask are straightforward. How high does the membrane turn up the kerb? Is the kerb insulated, and is it continuous with the roof insulation? Is it fixed into the structure or only to the deck? What is the whole-unit U-value and the G-value of the glass going on top? And who makes the Building Control notification, given that a new or enlarged rooflight is notifiable? On the work we carry out that notification goes to Southend-on-Sea City Council, or the relevant local authority for the address, as part of the job.
A rooflight is only ever as good as the kerb it sits on. If you want the upstand and the glazing specified together for a flat roof in south Essex, orientation and G-value included alongside the weathering detail, ask us for a specification that covers both halves of the job rather than just the unit.
Related reading
Can you put a skylight in a flat roof?
Can you put a skylight in a flat roof? The short answer, then the detail that actually matters.
Fixed and opening flat rooflights compared
Fixed and opening flat rooflights compared. What it means in practice on Essex housing stock, and how we approach it.
How much does a flat roof skylight cost?
How much does a flat roof skylight cost? The short answer, then the detail that actually matters.
Walk-on rooflights and where they make sense
Walk-on rooflights and where they make sense. What it means in practice on Essex housing stock, and how we approach…
What is a rooflight upstand?
What is a rooflight upstand? The short answer, then the detail that actually matters.
Do flat rooflights need to be sloped?
Do flat rooflights need to be sloped? The short answer, then the detail that actually matters.